Creating a Pivot Table in Excel
A powerful feature of Excel is pivot tables, these allow you to quickly look at a summary of data, the example below looks at Antibiotic prescribing by GP, and is based on a search by drug class, fro example, Penicillin prescribed in the last month.
- Open the THERAPY.TXT file, see Importing a TXT File into Excel if required.
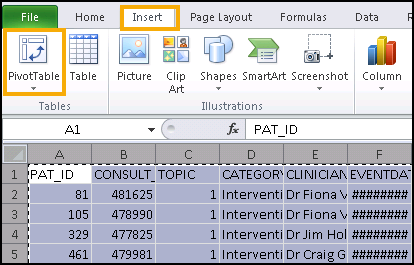
- Select the top left corner of the spreadsheet to highlight all the data:

- From the Toolbar, select Insert and then Pivot Table:
-
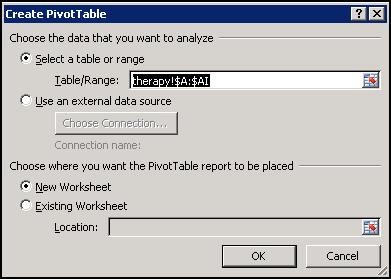
The Create Pivot Table screen displays. The input range populates automatically, and you can choose to place the pivot table into a new worksheet (default) or the existing one:
-
Select OK to proceed
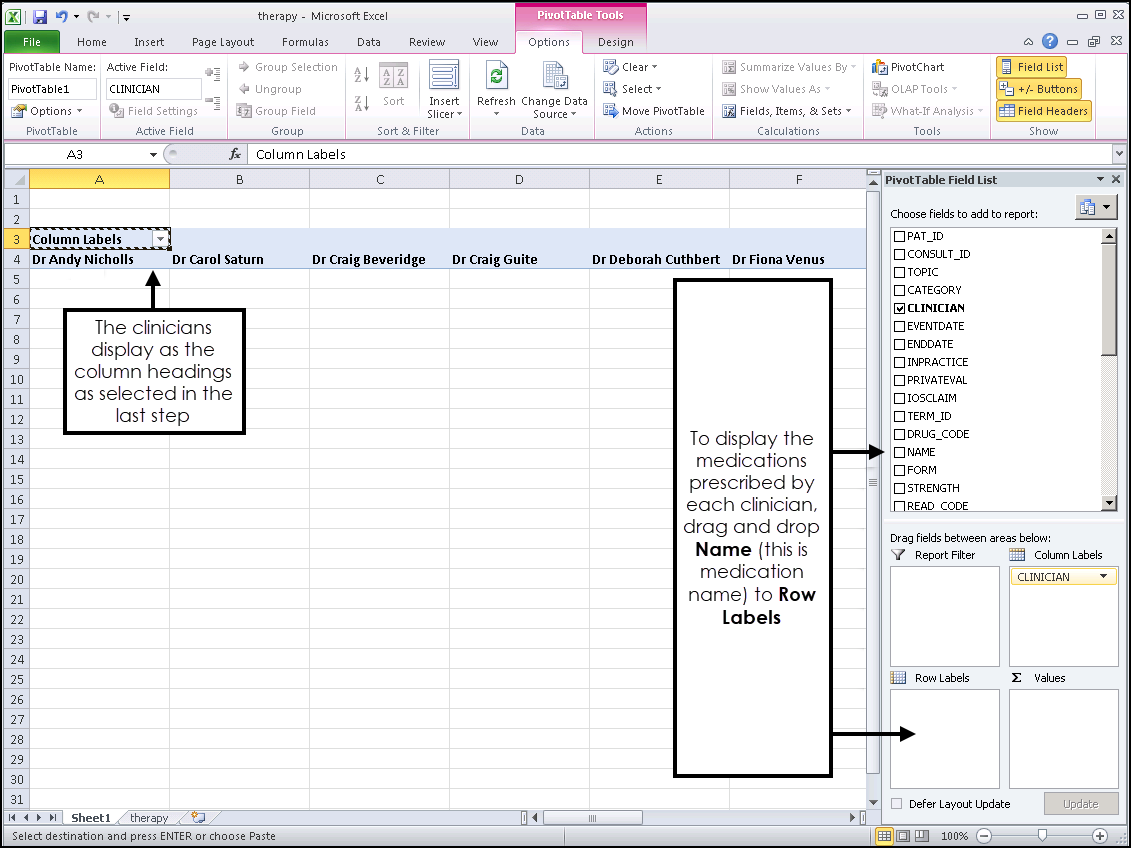
- The Pivot Table options displays. On the right the Pivot Table Field List includes all the column headings from your spreadsheet. The Pivot Table area on the left updates, as you add and remove data types. In this example, we want to look at prescribing by clinicians, drag Clinician into the Column Labels box:
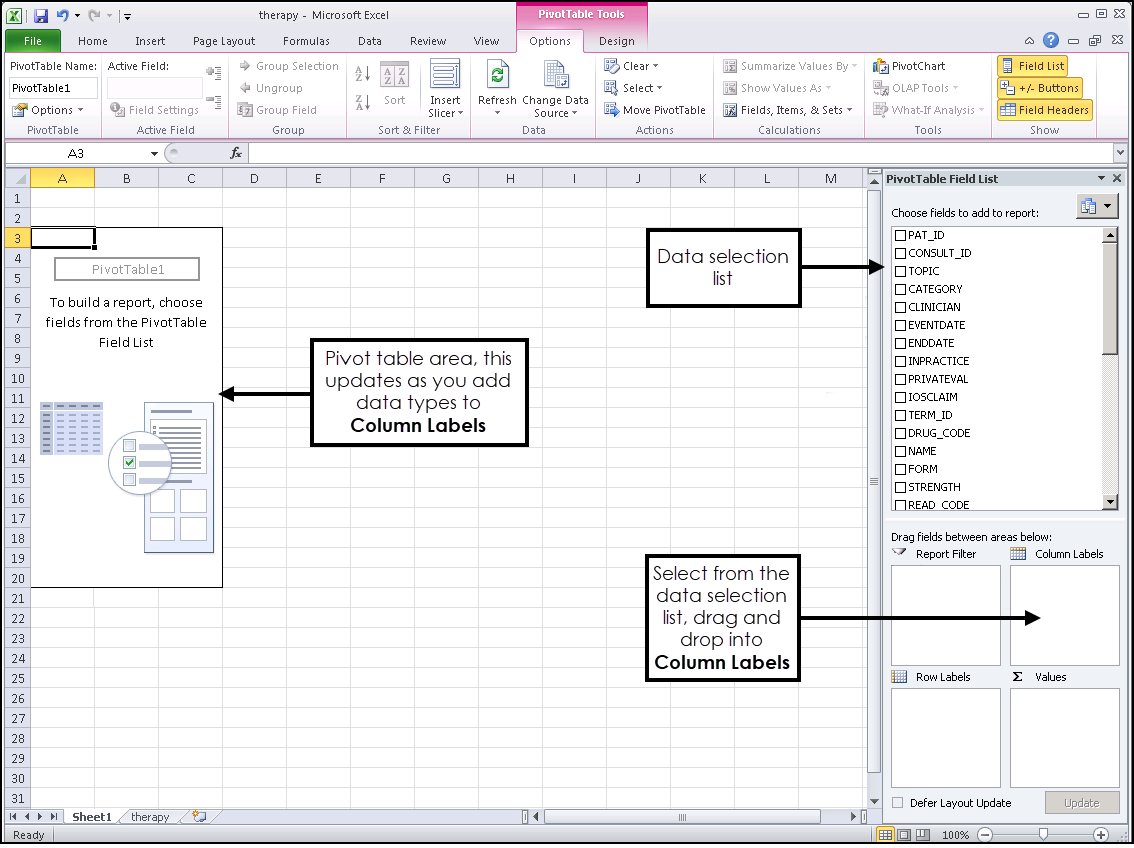
The Clinicians now display along the top of the page as Column Headings.
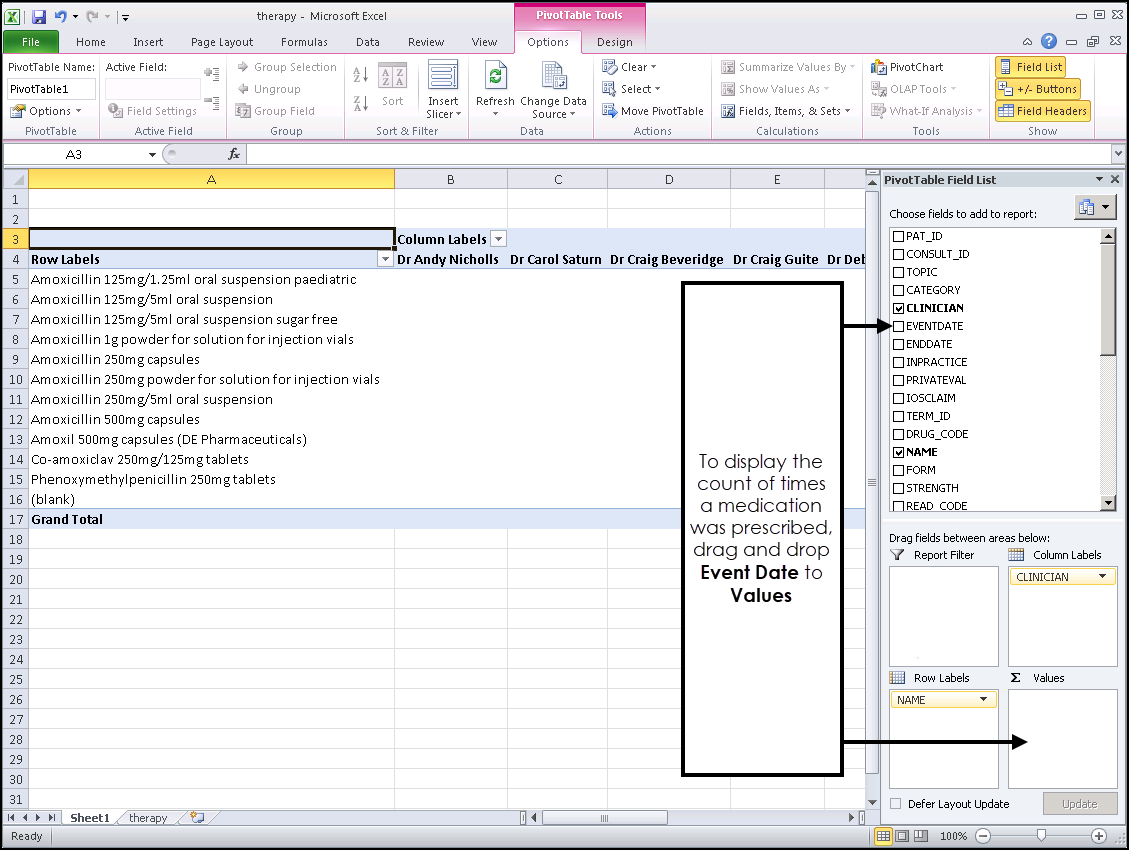
- Next, in this example, we want to display the drugs prescribed by each clinician. Select Name from the Pivot Table Field List this is the Drug Name, and drag it into the Row Labels:
The view automatically refreshes and the medication names display as rows.
-
Next, to display a count of each time the clinician prescribed the drug, select Event Date from the Pivot Table Field List, this counts the number of dates that each clinician prescribed each medication, and drag it into Values:
The view automatically refreshes and the count displays.
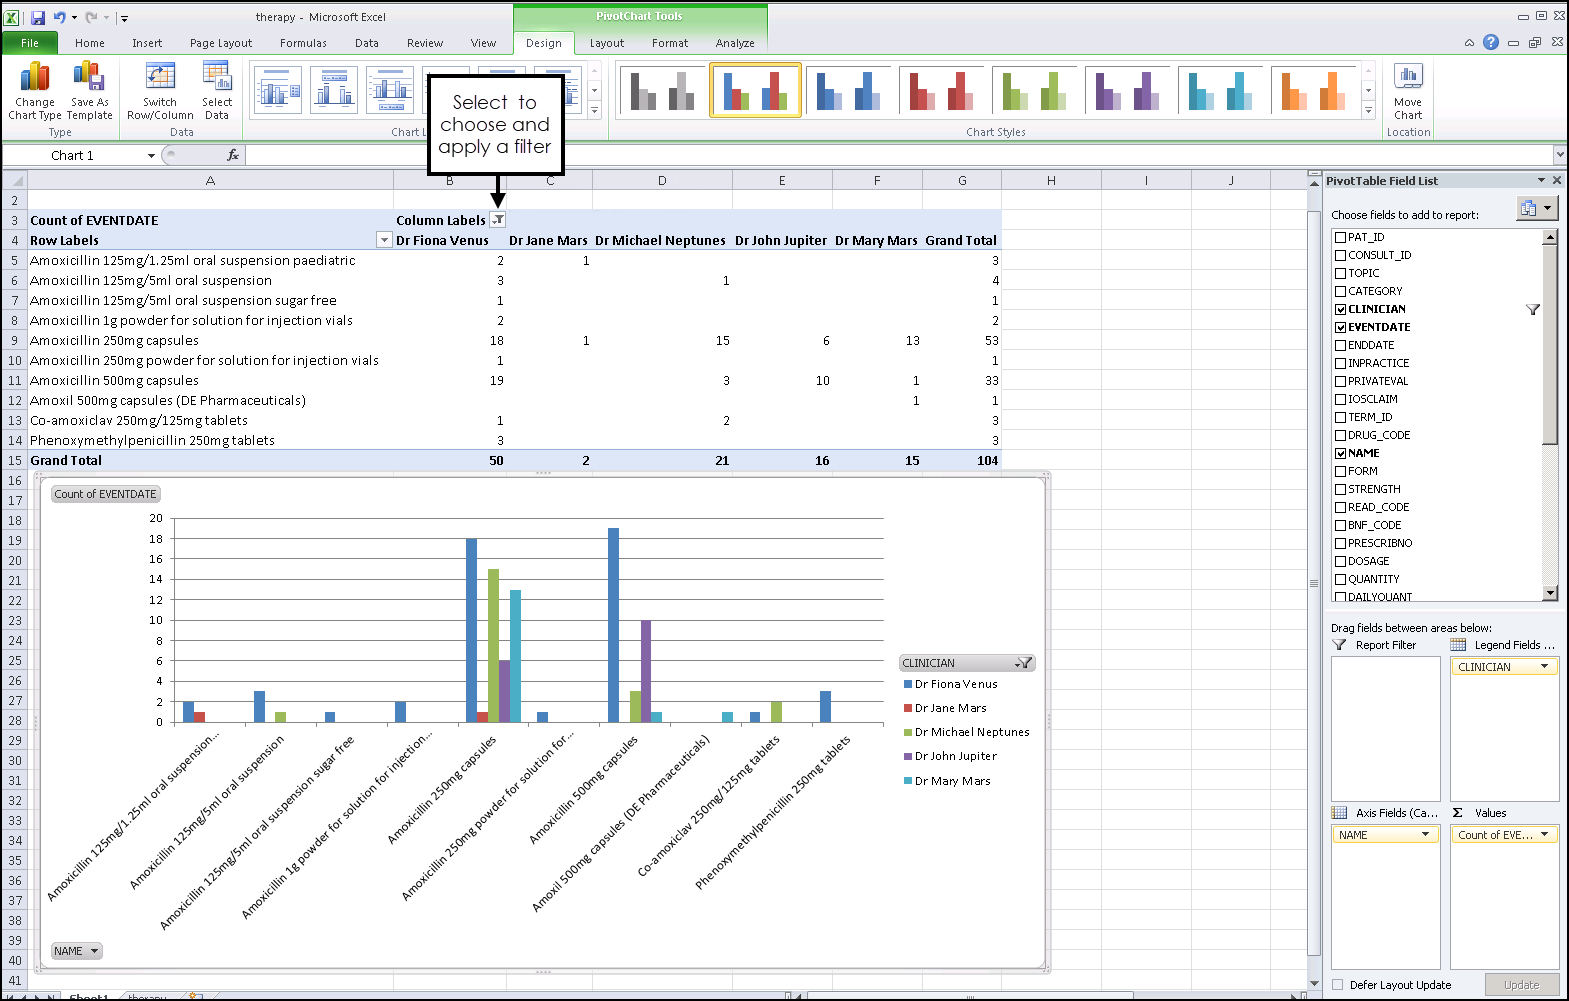
- Optionally you can:
- Apply a Filter to the Clinicians - Select the Column Labels drop down and remove the tick from, for example, Federated Locum and Blank.
- Insert a Graph - From the Toolbar, select Insert and then the chart type required, for example, Column and then choose the type, for example, 2-D Column: